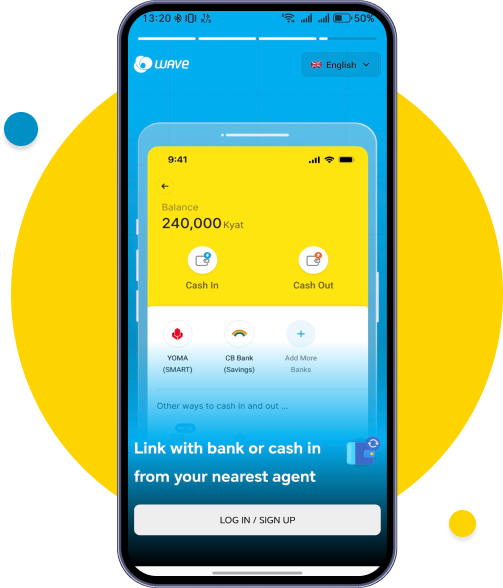
To register to Wave wallet, please tap SIGN UP. You can choose your preferred language in the top right corner.
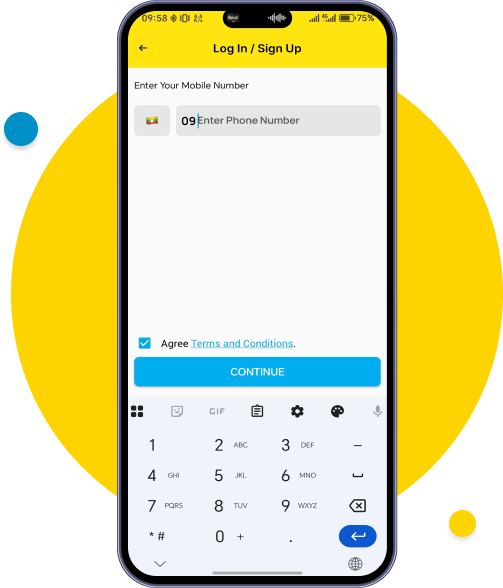
Type your mobile number, click “Agree Terms and Conditions” and tap Confirm.
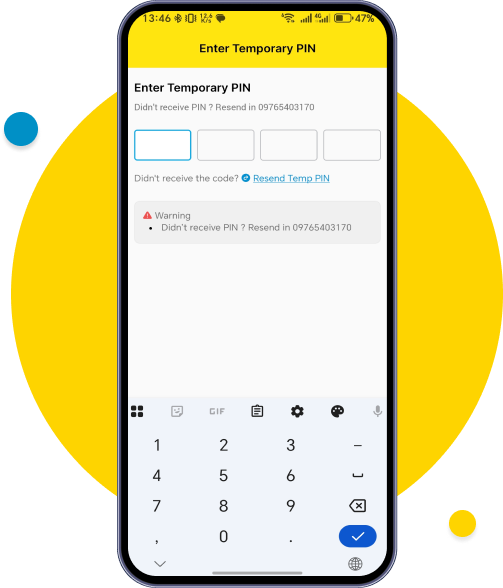
Enter the temporary 4-digit PIN you receive via SMS.
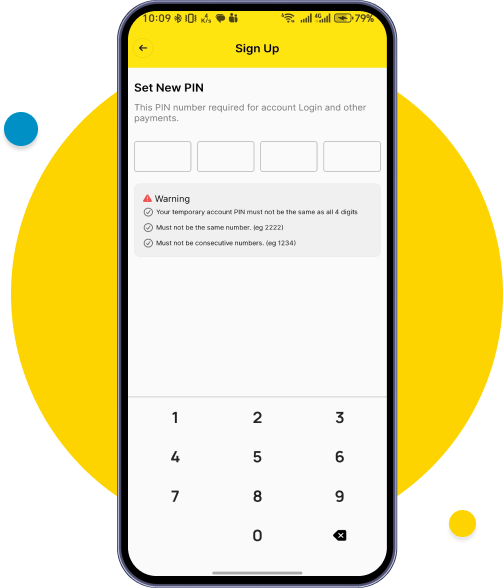
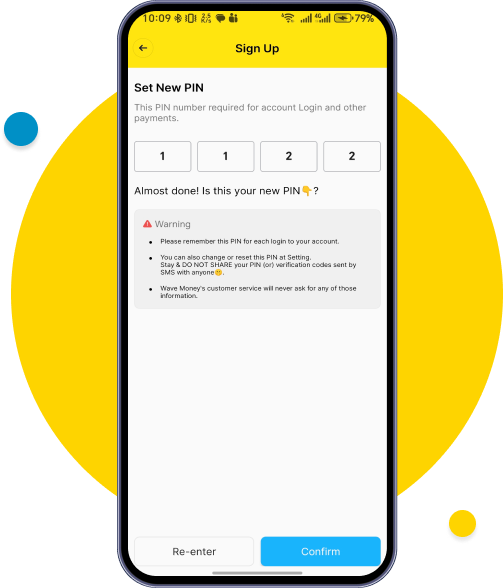
Set a new PIN by carefully following the security criteria shown on the screen.
Confirm new PIN and check the security criteria shown on the screen.
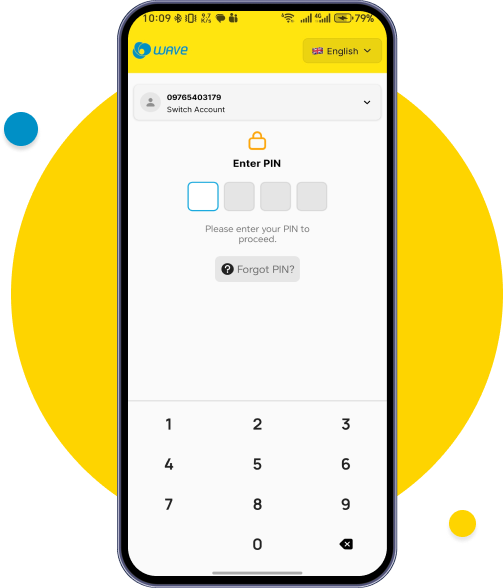
Type your new 4-digit PIN to Login.
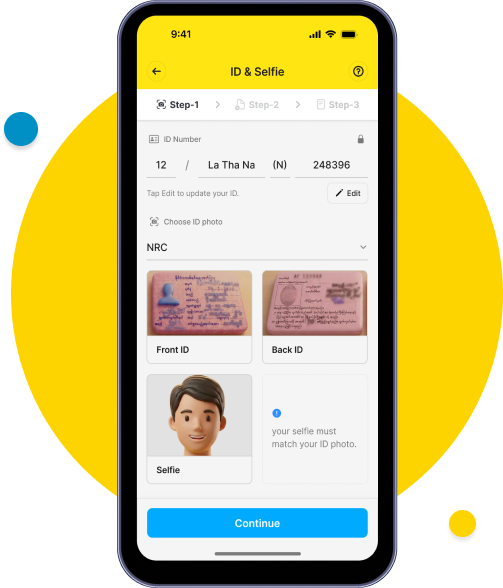
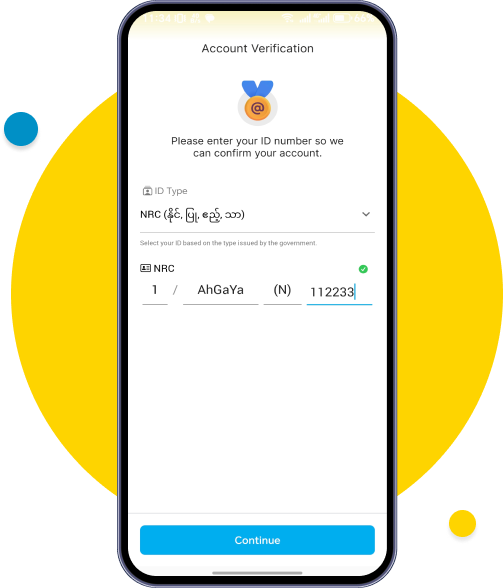
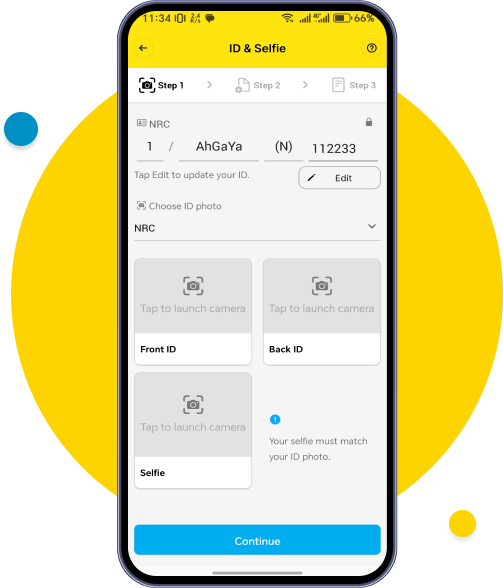
To start the registration process, choose your ID type & fill information
You need to upload the front and back of your NRC/ID, as well as a selfie. Tap each button to capture the images and tap Continue after uploading.
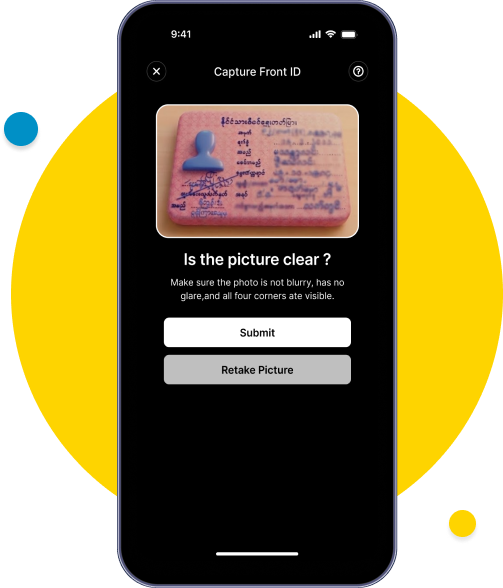
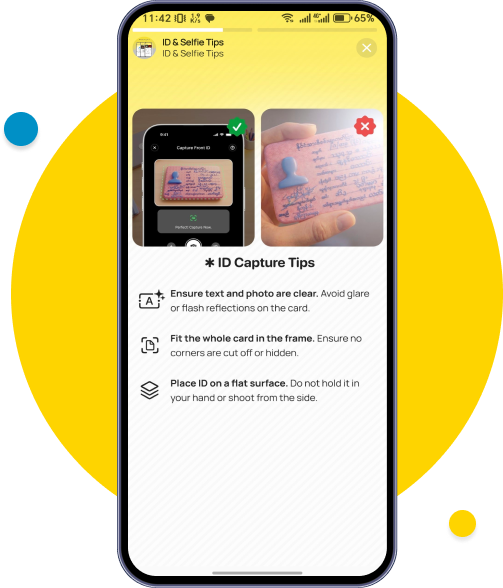
To capture your ID, ensure that both the front and back of your card fit completely within the frame and are clearly visible.
Click the (?) button in the right corner to view the guide on how to photograph your ID card.
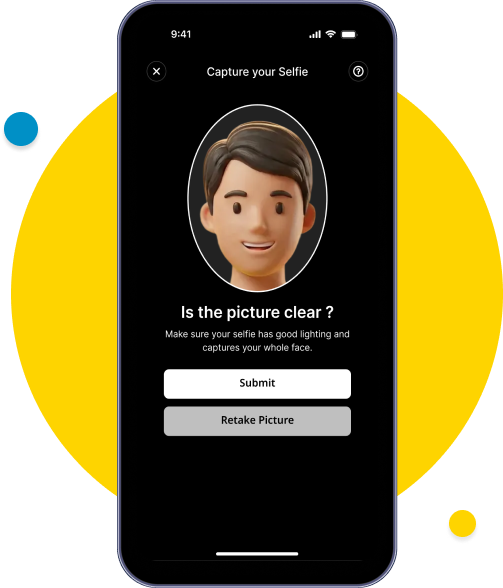
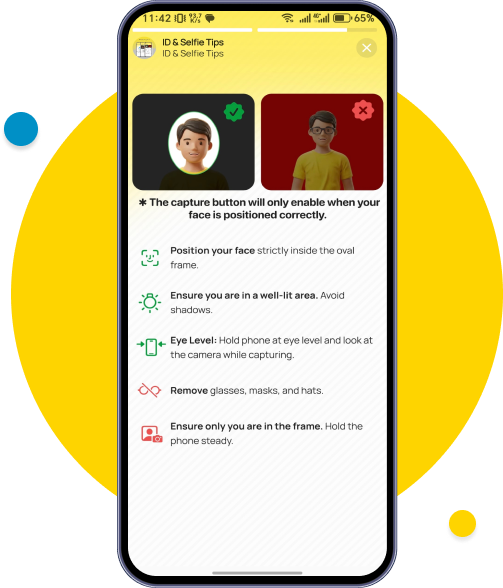
For selfie verification, ensure your face is within the oval frame to be able to capture and do not wear masks or glasses.
Click the (?) button in the right corner to view the guide on how to take your selfie.
Make Sure to check your photos are correct & tap continue.
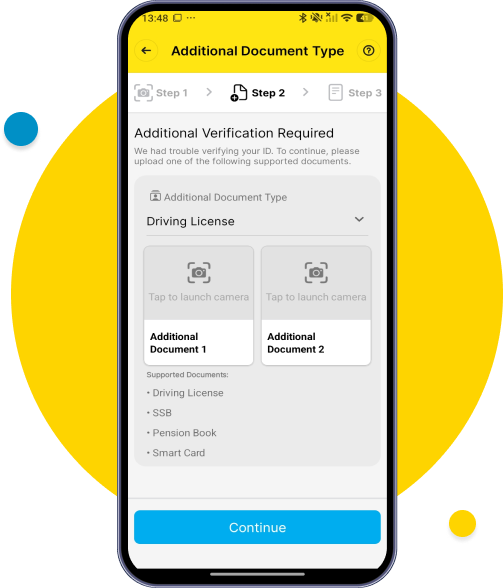
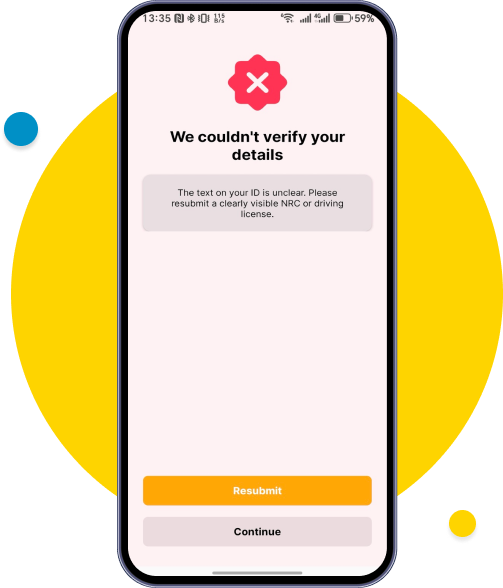
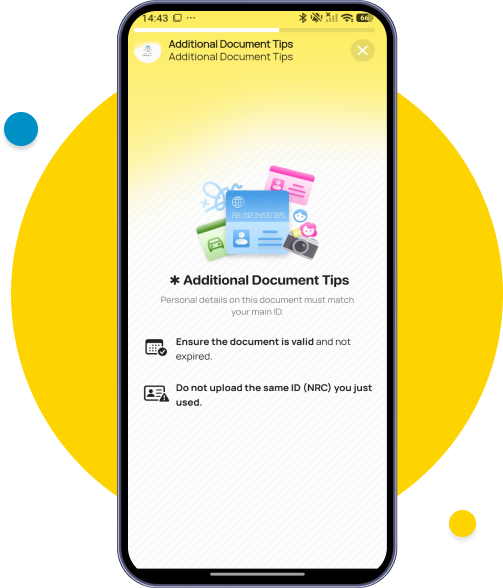
If your NRC isn't scanning properly, additional documentation is required. Please upload additional ID (front and back). Tap Continue once uploaded.
Click the (?) button in the right corner to view the guide on how to photograph your additional ID card.
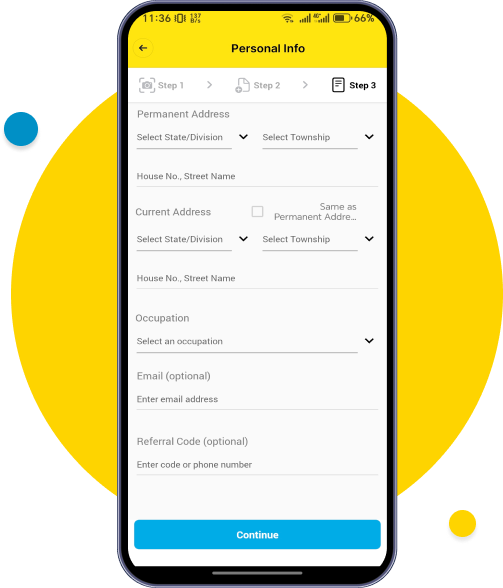
Fill in all basic information and tap Continue.
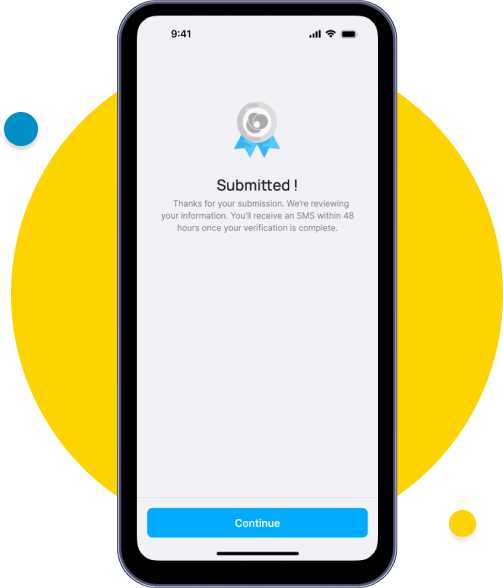
Your information is all submitted.
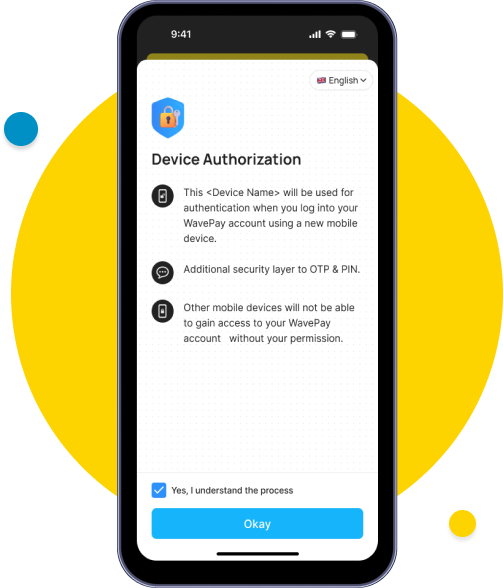
Tap Okay to verifyyour device with theone-device, one-account system andclick “Yes, I understandthe process.”
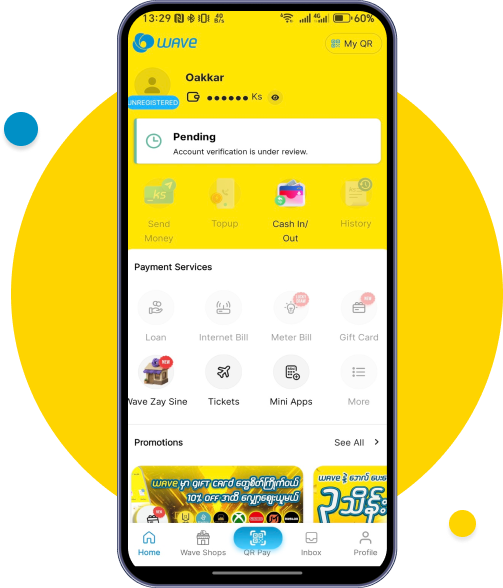
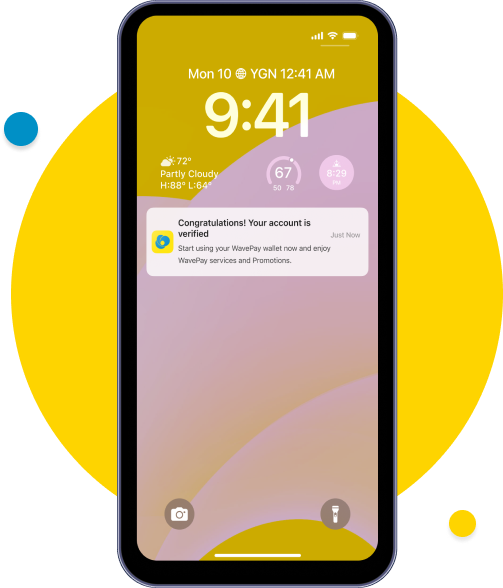
You will receive verified notification within 48 hours. Please tap the notification or open Wave App.
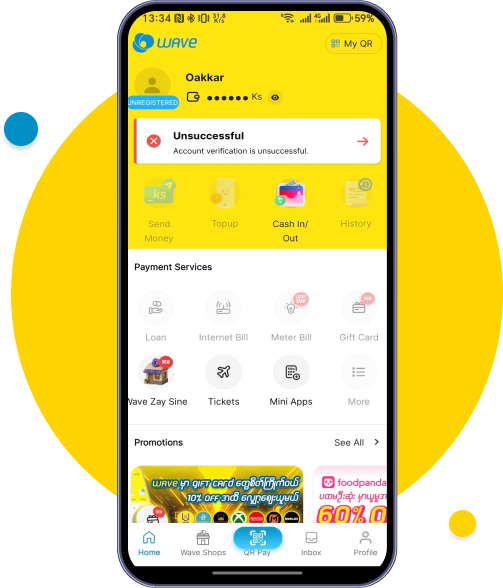
Your account status will show as Pending during verification.
You can begin using services from your Wave account.